Log into to BuildingPermits.Oregon.gov.
Important message: You must be logged into an account to upload a document. If you need an account visit How to register.
If you are having problems uploading documents, please clear your browser cache by following these steps.
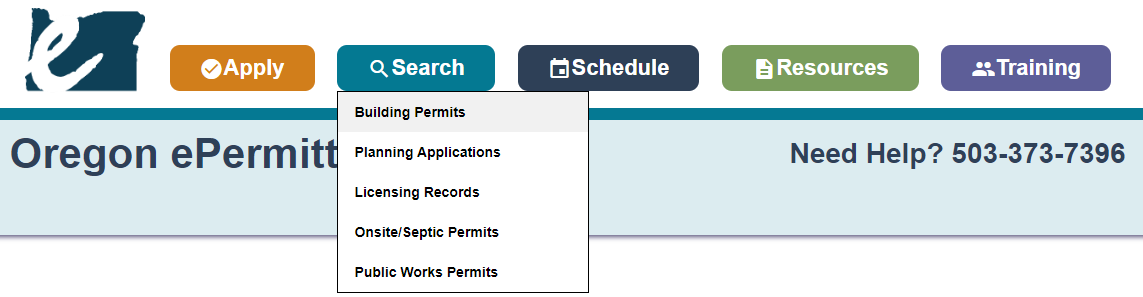
- Visit BuildingPermits.Oregon.gov and click "Search," next click the permit or record type that you are looking to upload a document to.
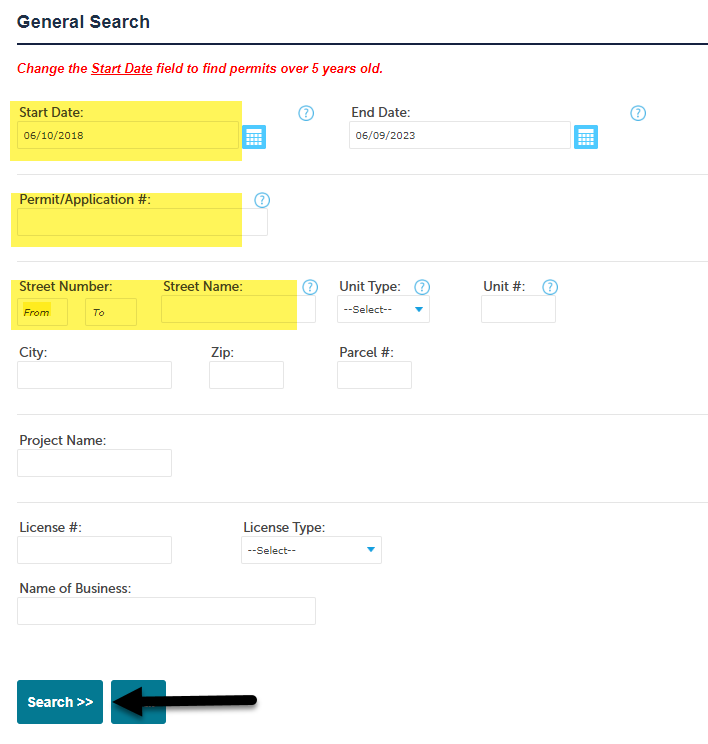
- Under the General Search, change the Start Date field to find permits over five years old. Search either by Permit/Application # or by the Street Number and Street Name, not both. Also less is more for searching, leave all other fields blank. Then click "Search" at the bottom of the screen.
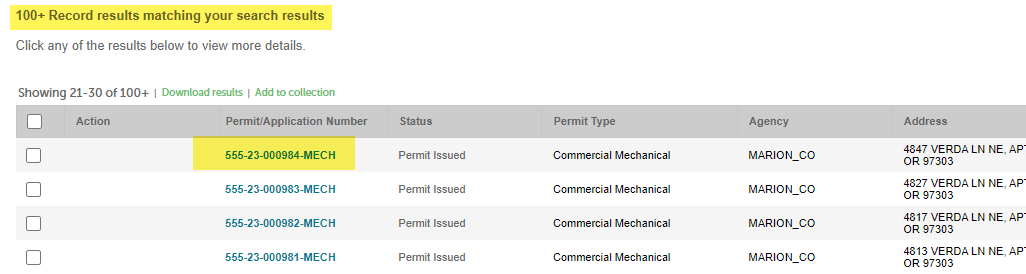
- If only one record matches your search, it will automatically open to that record – if more than one record matches your search, you will have to click the blue record number hyperlink to open the record.
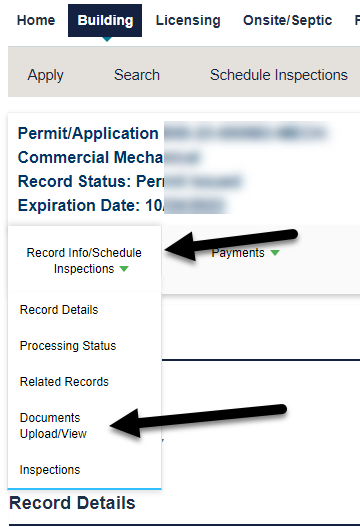
- Once your permit/application is loaded, click "Record Info/Schedule Inspections," click "Documents Upload/View."
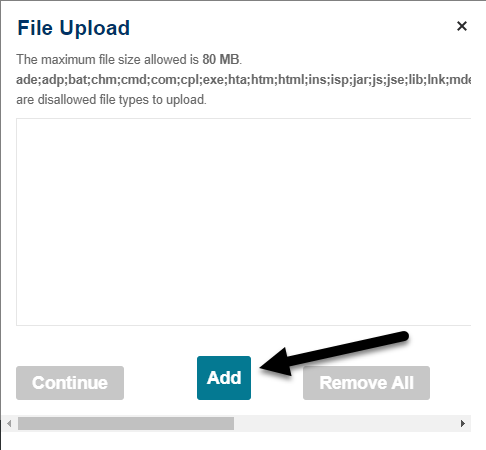
- IMPORTANT: Please note the limitations that are indicated for document upload in order to successfully upload your documents – file names, maximum size, and file types. Click "Add" to start an upload.

- In order to access your computers local and network drives to upload a document, click "Add":
- Locate the files(s) you wish to upload by navigating to their saved location on your local or network drive. Once you have selected the file(s) you wish to upload, click "Open".

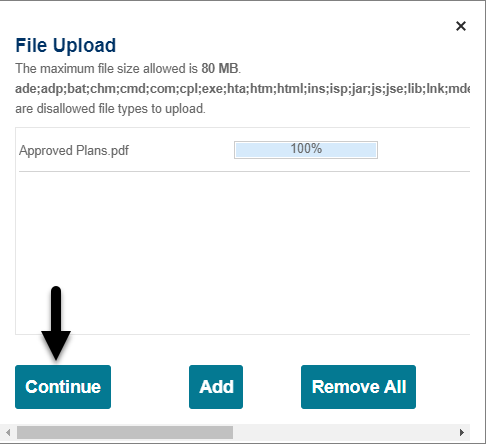
- After choosing the file(s) you wish to upload to the application you will see the name along with a status bar of the upload. You can now continue or add more files. When ready chick "Continue".
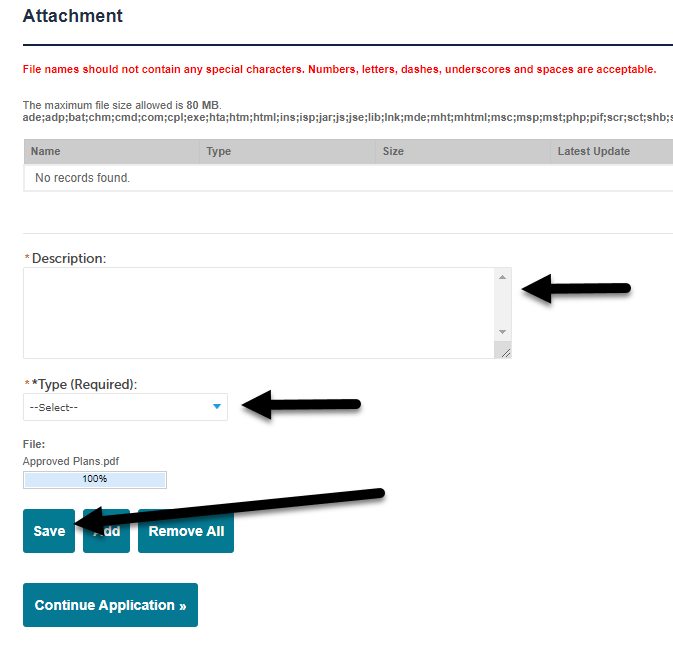
- After selecting the file(s), Description and Type is required. When ready click "Save".
- Attachment Successfully Attached - Click "Add" to upload another document.
